Whether your makeup routine is 2nd nature or you’re still getting to grips with the whole thing, level up with the simplest of tips and tricks. With no need to add any more layers of foundation or buy unnecessary tools, there are some little things you can do to perfect your make-up. Here at Eyeko and The Hut, we’re all about perfecting your routine from skincare to setting spray, we’ve picked up a fair few tricks on how to create a flawless finish. Here are our top tips for perfecting your make-up.
Top tips for perfecting your make-up:
Start with a clean palette
Don’t rush
Do your eyes first
Ditch the powder
Plan out your brows
Fully coat your lashes
Study your face
Draw blueprints for your eyeliner
#1 Start with a clean palette
The perfect condition for a well-blended base is right after you’ve done your skincare. The worst thing you can do is pile makeup onto unwashed skin as this will only trap dirt and cause spots, so making sure your face is cleansed beforehand is a must for protecting your skin. But also, applying your makeup after your skincare will help with application as after being treated to warm water and moisturizer, your skin will be at its softest and supplest, the perfect conditions for a well-blended and settled base. So, if you’re looking to re-apply makeup for the evening or simply getting ready later in the day, make sure to remove the day's makeup and cleanse before re-applying. Remember, a good skincare routine and a perfected makeup routine go hand-in-hand.
#2
Don’t rush

Primers are a must for perfecting your base, but after you’ve put your primer on, don’t jump straight in. Putting your foundation on immediately after applying your primer will make the whole thing pretty much useless as the primer doesn’t have the time to soak in and truly do its job. Try to wait at least 30 seconds to let the primer sink in and settle before diving in. This will stop your primer from being too oily or causing streaks in your foundation and will help you achieve a more natural base as your foundation will settle like a second skin.
#3 Eyes first

You’ll have heard this tip a million times but if you’re not doing your eyes first, it’s time to switch up that routine. It’s not until you switch that you’ll realise just how much fall out you get from your eye makeup and how much this is darkening your undereye area. Start with your eyes then you can use a makeup remover or a wet beauty blender to get rid of any dark fall out before going your foundation or undereye concealer. Trust us, this makes a world of difference for perfecting your eyes and erasing those undereye bags.
#4 Ditch the powder

For a lot of us, our first experiences with makeup came from our mother’s makeup bag. Blushers with little power puffs and heavy setting powders were the norm, but not anymore. Cream products are a real game-changer for creating a flawless base and achieving that airbrushed skin and healthy glow. By only using a little powder under your eyes or on any oily areas, you can let your natural glow shine through and simply enhance it. For a perfect sun-kissed base, we love using a peach tones cream blush on your cheeks and then blending the excess around our nose and a little on our eyelids. Without the shiny pigment that’s often found in powder blushers and bronzers, cream products look far more natural and are versatile from cheeks to lips and eyes.
#5 Plan out your brows
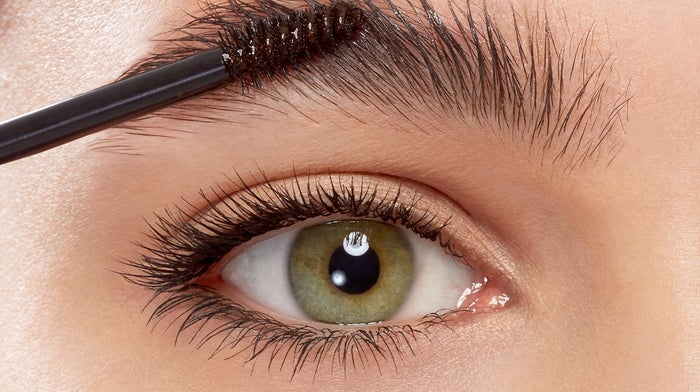
Luckily, we’ve left overplucked brows back in the 00s, so to avoid slipping back in time, keep your makeup in mind when grooming. In between brow appointments, or if you simply do them at home, do your usual brow makeup before you pick up those tweezers. By having this guide drawn out, it’ll stop you from overplucking or ruining the shape you like to create, while also helping your natural brow become more like your brow goals. By doing this, over time your eyebrows will grow into the shape you’re trying to achieve and protects them in the process.
#6 Give your lashes the full treatment
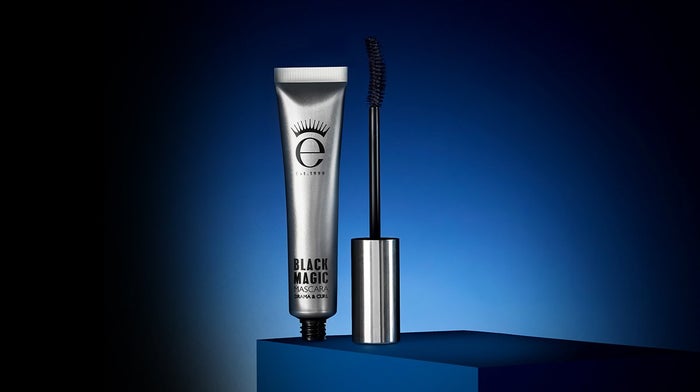
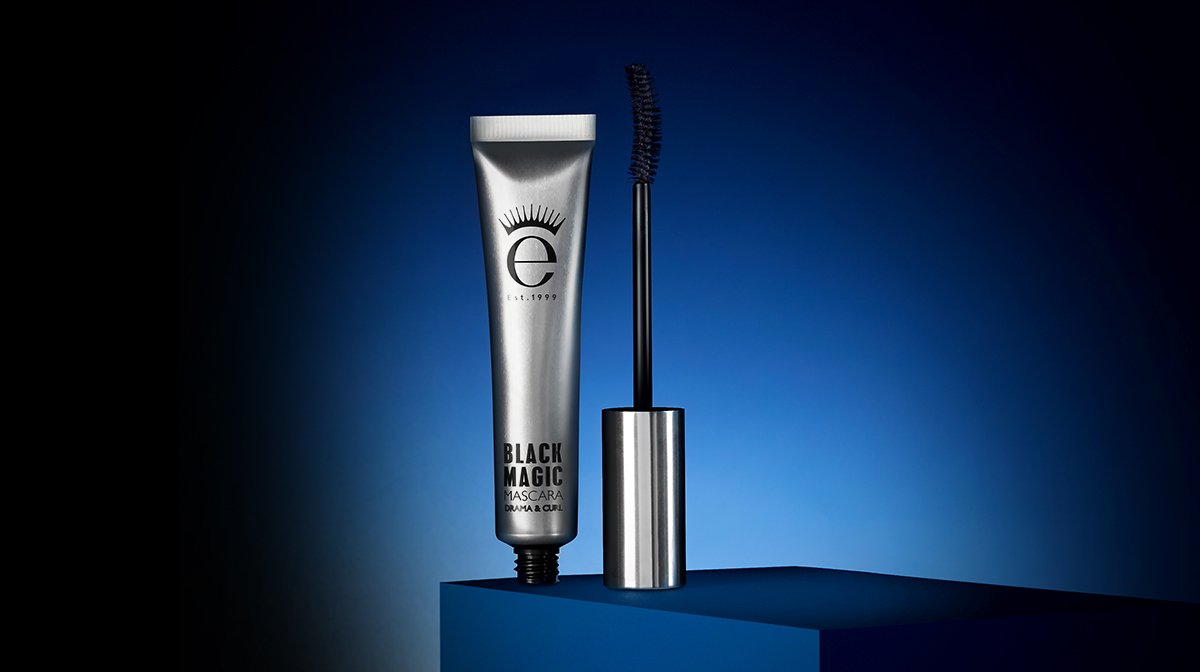
Mascara may seem like a simple step, simply swipe up and you’re done. But your lashes could be seriously leveled up by taking a little extra time and applying your mascara more cleverly. For instant lash extensions at home, start off by dusting your lashes with a little bit of powder. This will prime your lashes and thicken them, giving your mascara more to cling onto and resulting in lashes that look fuller and longer. Then, when applying make sure you do a full coat. Don’t just swipe the wand from root to tip, wiggle the wand at the root to ensure full coverage before sliding up, then make sure to look down and repeat with the other side of your lashes. A mascara with a curved brush, like the Eyeko Black Magic Mascara, will help with this, mirroring the shape of your lashes to give them a lift. You’ll be shocked how much of a difference this simple tip will make, giving your lashes the full treatment in just a moment. For more top tips for perfecting your make-up with Eyeko's Black Magic Mascara, read the blog!
#7 Study your face

One of the best beauty tips you can get is to simply get to know yourself. Knowing your face shape and eye shape will allow you to look into what makeup and application tips will suit you and highlight your beautiful features. It may be that for your eye-shape you should be trying out a different type of wing or experimenting with a kohl liner. Don’t be scared to mix it up and try out new techniques to find your new favorite look. We all get in a rut of doing the same beauty routine day in and day out, but a simple change could be just what you needed, get to know your face and having a play around with your makeup till you find what works.
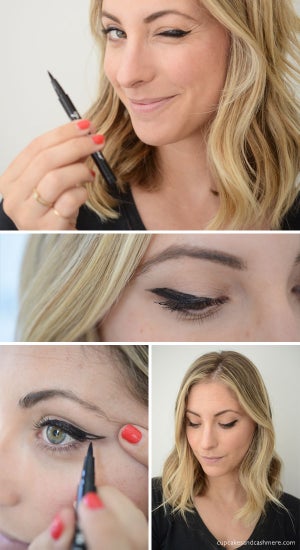
#8 Don’t forget the blueprints
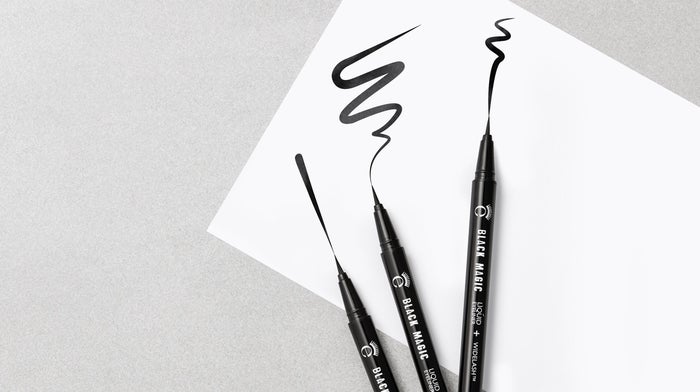
When trying to do those sharp eyeliner flicks it's all too easy to get into that classic routine of making one too big and trying to correct it until you resemble a panda. While some people seem blessed with the ability to achieve a perfect flick without even trying, the best way to achieve even wings is to plan it out. Before diving straight in sketch out your wings with your liquid liner by drawing dots at where you want your liner to start and end and how thick you want it to be. This is to stop you from going in too heavy-handed and then having to try and erase the line, battling to get each side to match. A little prep will go a long way in the military mission that is creating the perfect cat-eye. For more top tips for perfecting your make-up, take a look at the full beauty range on The Hut.
Shop some Eyeko Favorites!

Related Articles
