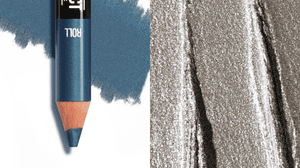
Here at Eyeko, we love to create products for you that are super easy to use, and our Define It Brow Pencil is no different. We get it, no one wants to spend hours perfecting their brows every morning, which is why we've created the ultimate 3 step brow routine that is not only super easy to follow and takes minimal effort, but also allows you to ensure your brows are defined in minutes.
How To: The Three Step Brow Routine
Step 1: Prep & Shape
Start with our Define It Brow Pencil. Using the spoolie end, brush through brows to ensure all hairs are in the right direction and there are no unwanted strays that need plucking. We like to brush brows up at the inner corner, creating a fuller effect.
Step 2: Fill & Define
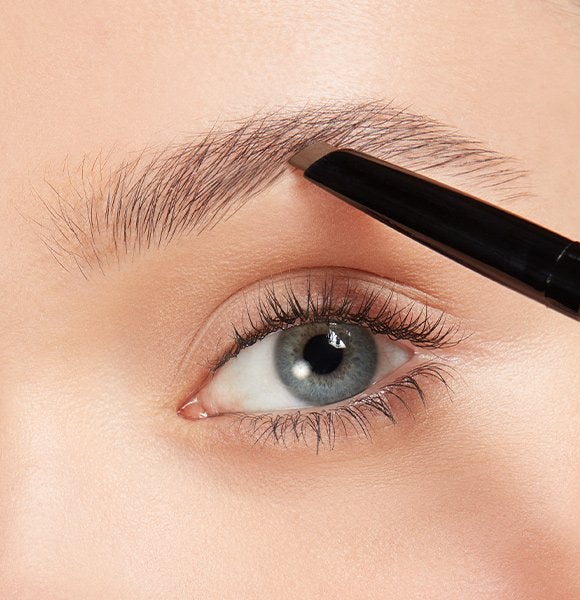
Sticking with the Define It Brow Pencil, switch to the pencil end and twist up so that the nib is just a few millimetres out of the pencil. Time to fill and define those brows! We like to start at the top arch of the brow, and add in fine hair strokes outwards towards the tail of the brow. Always be sure to draw in the direction that the hairs naturally grow for a more realistic finish. When it comes to filling the inner corners of the brow, less is more. Build up the product slowly, again adding in strokes in the direction of the hair. We like to add strokes in an upwards direction here to add volume and help brows appear thicker and fuller. Brush back through with the spoolie to blend out for an even more natural look.
Step 3: Style & Finish
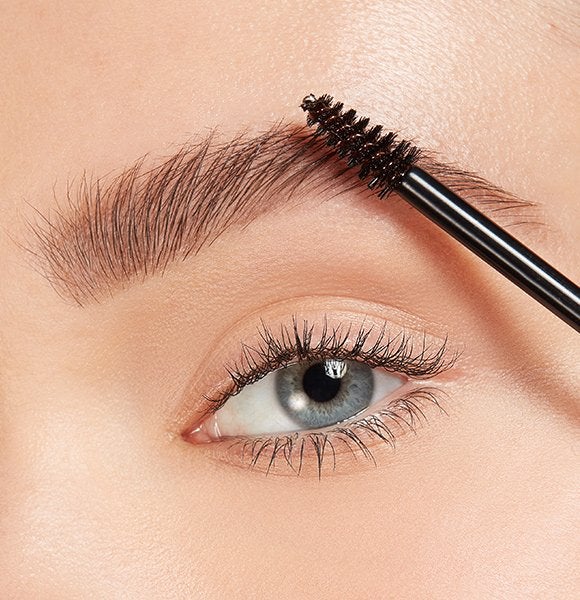
Finally, we turn to our hero Brow Gel. Use the botanically-enriched formula to add hold and condition brows. Brush the gel through brows with the nano-brush for ultra precision. Once dry, expect your brows to stay in place all day long without feeling hard or crispy.
What Do Brows Look Like After The 3 Step Brow Routine?
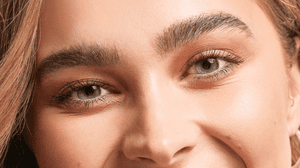
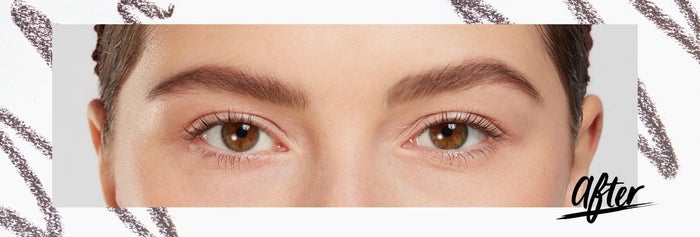
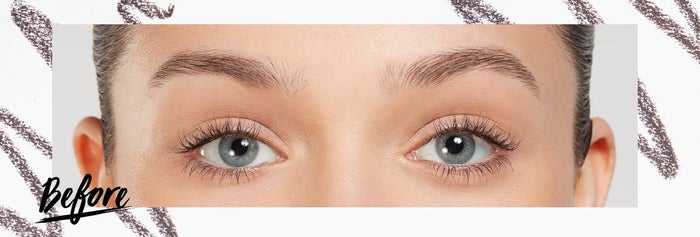
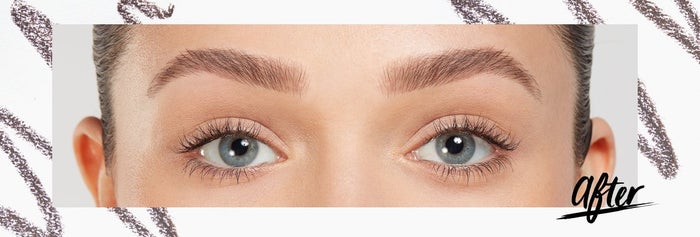
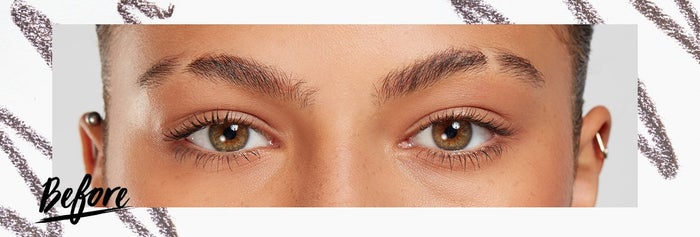
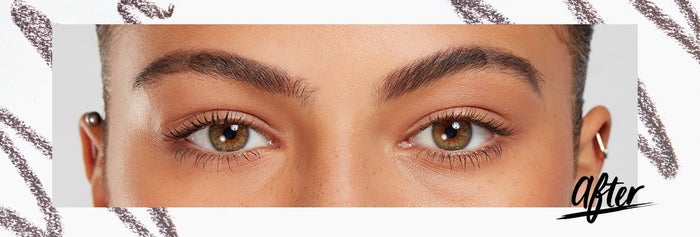
Now that you've got the 3 step brow routine down, check out some of our before and after images to see our Define It Brow Pencil in action!
Ursula wears shade Light.
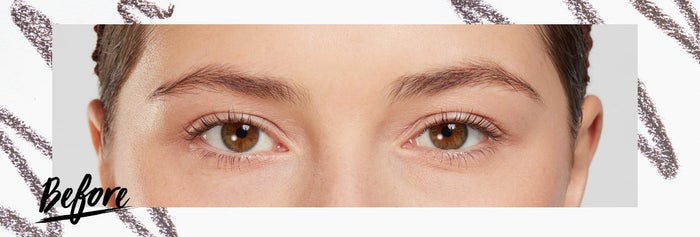
Coral wears shade Medium.
Aliyah wears shade Dark.

Related Articles
